
Jul
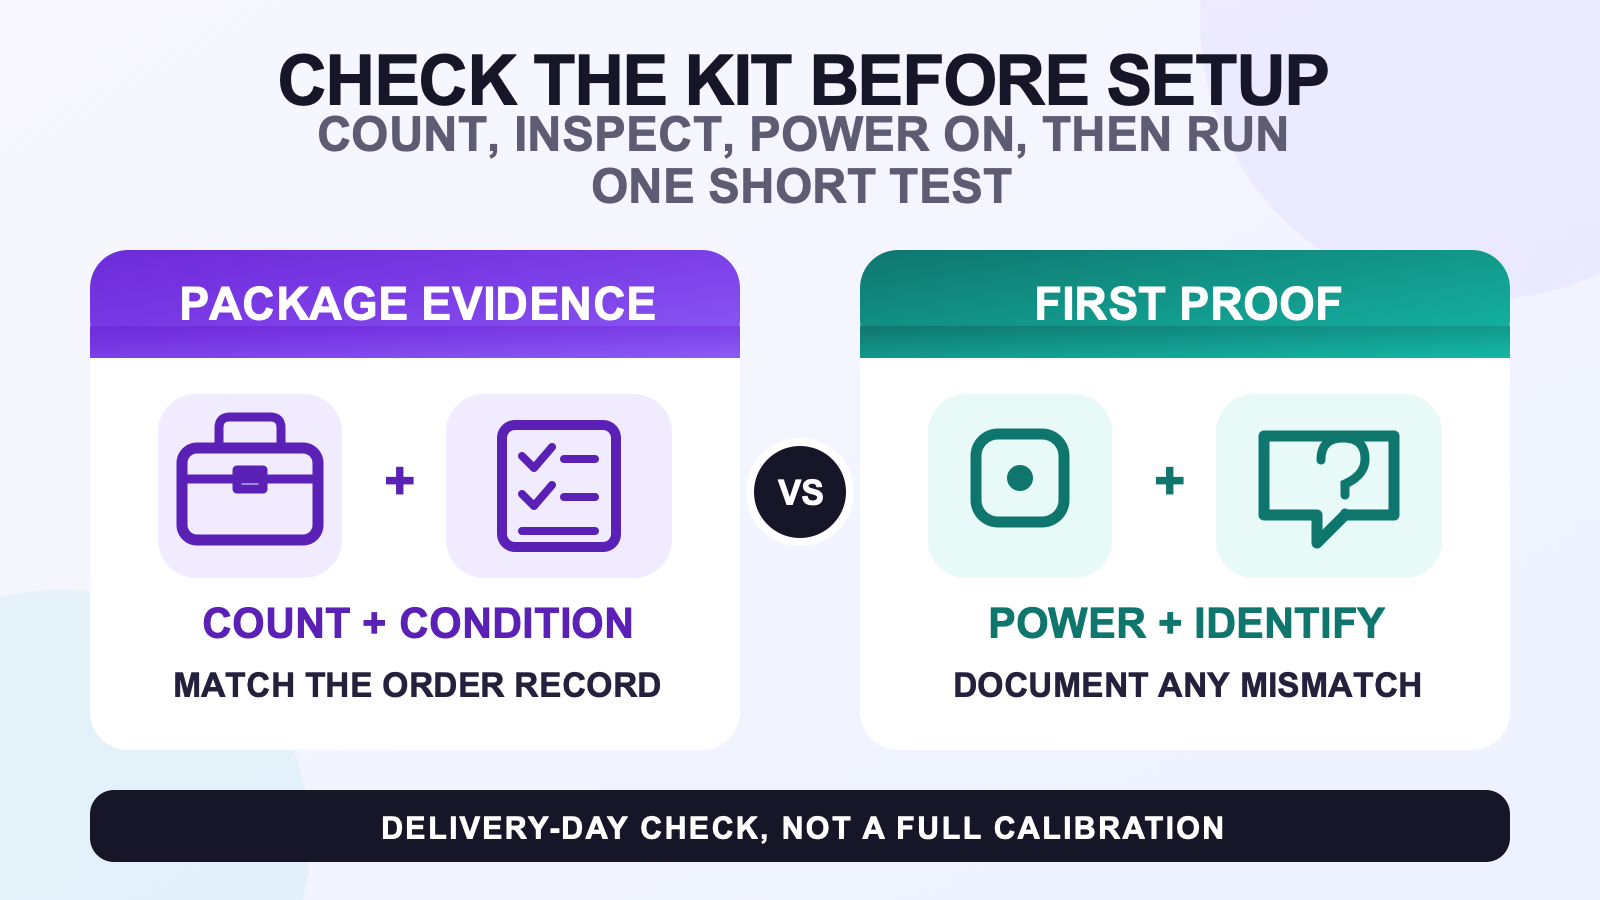
After a full body tracking kit arrives, verify the order record, count every listed component, inspect the visible condition, stage charging, identify each powered tracker one at a time, and run one short connection-and-movement proof. Continue to full setup only when those checks agree. If the count, condition, or first proof does not match, stop changing variables, preserve the packaging and photos, and send support a precise record.
This is a delivery-day acceptance check, not a charging tutorial or full calibration guide. Its job is to separate a package question from a setup question before both become mixed together.
Protect the evidence before moving anything
Open the shipment on a clear table and keep the outer label, inner packing, order confirmation, and selected tracker option together. Take one wide photo before rearranging the contents, then photograph any area that already looks different from the rest. This creates a simple timeline without assuming that a difference is a defect.
Do not count from a marketing photo. Start with the variation in the order confirmation, because the current FBTKit product offers more than one tracker count. Put trackers in one row, soft goods in another, and power items in a third. A temporary arrangement is enough; the between-session storage guide owns the longer-term routine.
Keep the shipping materials until the count and obvious-condition check are complete. That is evidence-handling advice, not a statement about a return window or outcome. Current policy and support decisions must come from the site’s current pages and the facts of the order.
Reconcile the box with the dated product listing
Use two records: the order confirmation for what was selected, and the live listing for a current cross-check. On August 10, 2026, Woo Store API product 1064 and the public FBTKit LSM6DSV SlimeVR-Compatible Full Body Tracking Kit page both showed tracker-count options of 5, 6, 8, and 10. The correct tracker count for one shipment is the option on that customer’s order, not the first price, default selector, or number visible in a gallery image.
| Current product 1064 text, checked 2026-08-10 | What to compare in the delivery | What not to infer |
|---|---|---|
| Your selected number of trackers | The selected variation in the order confirmation and the physical count | Do not assume every order has the same count |
| Carrying bag | Whether a carrying bag is present | Do not infer extra inserts from a product photo |
| Power adapter and 1-to-6 charging cable | Whether the listed power adapter and 1-to-6 charging cable are present | Do not infer charge time or indicator behavior from the accessory name |
| Anti-slip straps | Two 80 cm, two 50 cm, and two 30 cm straps | Do not convert strap lengths into body-role assignments yet |
The list above records what the current page said on that date. It does not reconstruct an earlier listing or override an order confirmation. For a deeper comparison of bundle language and physical items, use the kit contents reference.
Screen components for obvious condition problems
Make a slow visual pass while everything is still on the table. Look at the tracker housings from more than one side; check that the cases are closed consistently and that switches, buttons, and connector openings do not look crushed or displaced. Compare like items with each other instead of relying on memory.
- Check the power-adapter housing for an obvious crack, separation, or bent external part.
- Check the charging cable for cut insulation, a visibly deformed plug, or a connector that arrived loose from the cable.
- Check straps for missing fasteners, open stitching, tears, or an obviously damaged coating.
- Record dents, moisture marks, broken packing, or a strong mismatch between otherwise identical tracker housings.
A visual pass can document visible condition; it cannot certify the hidden electrical condition of a tracker or accessory. If a power item or tracker is visibly damaged, set it aside, photograph the issue and its packing context, and ask support how to proceed rather than trying to make the symptom disappear through setup changes.
Stage charging and the first power-on
Once the count and visible condition pass, place the received power items and trackers on a clear surface. The product page currently names a power adapter and 1-to-6 charging cable, but it does not establish a universal charge duration or light-code guide. Use the dedicated charging and pre-session check for that routine, and keep this step limited to preparing every device for the same short proof.
During its connection workflow, the official SlimeVR Quick Setup guide instructs users to plug trackers in one at a time and turn them on. That sequence is useful on delivery day because it gives each physical device a chance to appear separately before the whole set becomes one crowded list.
Give each device an identity before wearing it
With SlimeVR Server open, introduce one tracker, observe whether it appears, and move that one device gently to see which listed tracker responds. Record a temporary number or removable label, then repeat with the next device. The purpose is identification, not performance scoring.
After every expected tracker has a physical-to-screen identity, confirm that saved assignments are not blank, duplicated by mistake, or attached to the wrong physical device. The roles-first wear and placement sequence owns the body points and mounting-direction checks. Do not solve a count or detection mismatch by guessing body roles.
Run a five-minute bench-to-body proof
The first proof should answer only three questions: did the expected device appear, can you identify it, and does its on-screen motion respond when the matching physical tracker moves? It does not need a social VR room, a long dance, or advanced tuning.
| Check | Pass signal | Stop and document |
|---|---|---|
| Inventory | Order selection and physical count agree | A tracker or currently listed accessory cannot be reconciled |
| Identity | Each expected physical tracker maps to one screen entry | One device never appears or two physical devices cannot be distinguished |
| Short motion proof | The identified screen entry responds to the matching physical device | The same device repeatedly gives no matching response while the test conditions stay fixed |
If all three rows pass, continue to the complete setup and calibration workflow. If an accounted-for tracker does not appear, use the detection-specific first checks. If the symptom is broader or the owner is unclear, use the symptom routing guide. These pages begin where the delivery proof ends.
Build a useful support record
Contact support when the ordered variation and tracker count do not agree, a currently listed accessory cannot be accounted for, visible condition is concerning, or one device repeatedly fails the same narrow identity proof. Do not keep adding calibration, router, or body-proportion changes to a package question.
A useful message includes the order number, selected tracker count, one photo of the complete laid-out contents, close photos of the specific mismatch or visible damage, the temporary label of the affected tracker, and the exact one-at-a-time step that did not match. Avoid sending passwords or other unrelated account details. Use the FBTKit contact page for the current support route; this checklist does not promise a response time, repair, replacement, refund, or shipping outcome.
FAQ
Which record should I use to count an FBTKit delivery?
Use the selected tracker variation in the order confirmation as the primary count record. Use the dated live product listing to cross-check currently listed accessories, but do not let a default selector or product photo override the order.
Should I discard the shipping box as soon as the item count matches?
Keep the label and packing context until the visible-condition and short identity checks are complete. This preserves useful evidence if a mismatch appears; it is not a promise about return eligibility or timing.
What belongs in a useful damage photo for FBTKit support?
Include one wide photo showing the laid-out delivery, a close view of the visible issue, and enough packaging or label context to identify where the item was found. Add the order number in the message rather than editing it into the image.
Why label each tracker during the delivery-day power check?
A temporary label connects one physical tracker to one SlimeVR screen entry. That makes a missing, duplicated, or mismatched assignment easier to describe before body placement and calibration add more variables.
When does an after-delivery check become a full calibration job?
It becomes a setup and calibration job after the ordered contents, visible condition, tracker identities, and short motion proof all pass. Continue in the complete workflow instead of expanding this delivery check.
Official sources
