
Jul
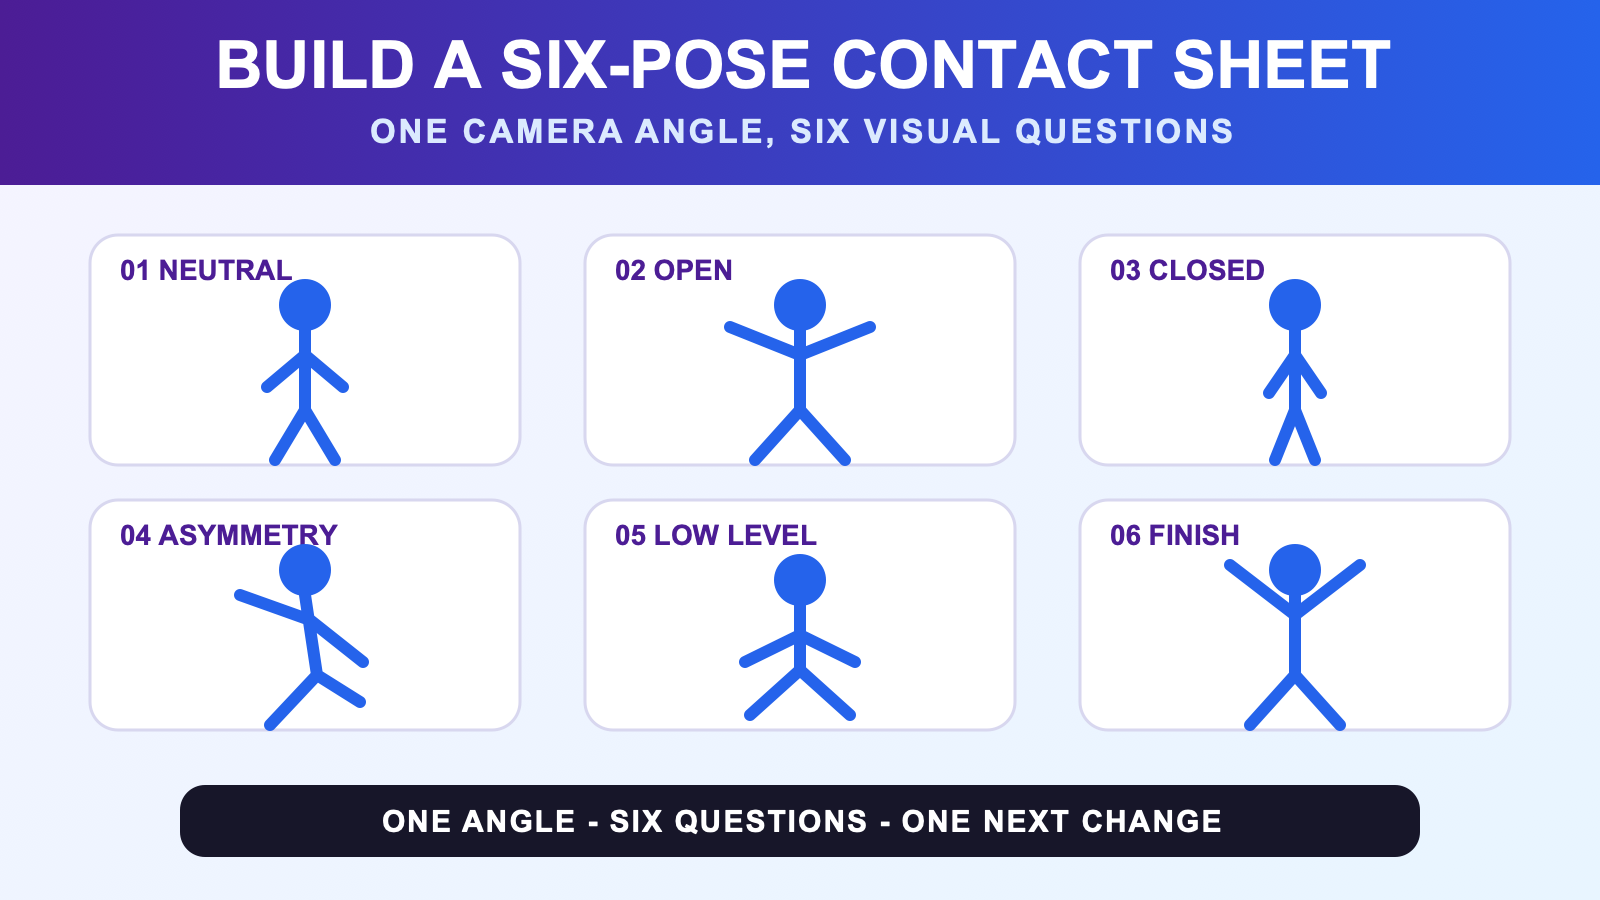
Full body tracking avatar pose practice becomes easier to compare when you stop collecting random poses and build one six pose contact sheet. Give each slot a different visual question, keep the avatar version and review angle fixed, then capture one frame after the pose settles. The finished sheet lets you compare silhouette, weight direction, level, and asymmetry without relying on memory.
The sheet does not grade anatomy, martial technique, artistic quality, or tracking accuracy. It is a record of six presentation decisions made under one capture method. If the technical baseline changes during the session, note that change or start a new sheet.
Give each slot one visual question
Choose six questions before entering the capture session. A useful set might ask what neutral looks like, how an open shape differs from a closed one, whether asymmetry reads clearly, how a lower level changes the silhouette, and whether a finishing pose looks settled. These are prompts, not required pose names. Replace them when your avatar or project needs a different range.
| Slot | Visual question | Review cue |
|---|---|---|
| 1 | What does neutral look like? | Feet, hips, torso, and hands have a readable baseline. |
| 2 | How open can the shape become? | Limbs create clear space around the torso. |
| 3 | How closed can it become? | The silhouette contracts without becoming visually tangled. |
| 4 | Does asymmetry read? | One side carries a deliberate difference. |
| 5 | What changes at a lower level? | The level change remains inside your cleared movement area. |
| 6 | Can the finish settle? | The final shape is distinct from the transition into it. |
Do not make all six slots increasingly dramatic. A neutral or quiet pose gives the stronger shapes a reference point. If the avatar is new to you, use the new-avatar test first. That separates model behavior from the creative comparison you are about to make.
Lock one review angle and avatar version
A contact sheet is most useful when the camera does not keep changing the answer. Choose front, three-quarter, or profile as the primary review angle. Record the chosen angle, avatar version, world or scene, and approximate camera distance in the sheet header. You can make another sheet from a second angle later.
This constraint is different from a finished image session. The avatar photography guide can help when lighting, composition, and final stills become the goal. Pose practice keeps the frame plain enough to compare body shapes.
Wear and place the hardware consistently before the first frame. If a strap position changes, the next capture no longer shares the same physical baseline. Use the strap placement guide for that preparation, then record only a short pass or blocker on the pose sheet.
Use a hold, release, and reset rhythm
Move into the pose slowly enough to stop deliberately. Hold only long enough to confirm the shape has settled in the review view. Release it, return to the same comfortable neutral, and pause before the next slot. A repeated rhythm reduces the temptation to grab a frame in the middle of a transition.
- Enter: move into the intended shape without chasing the camera.
- Hold: confirm the silhouette and one slot-specific cue.
- Capture: save one clearly named frame or time marker.
- Release: leave the pose rather than collapsing out of it.
- Reset: return to the same neutral before starting another question.
If the neutral pose behaves unexpectedly, stop creative review and run the setup and calibration workflow. Changing calibration and changing the pose at the same time makes the next frame hard to interpret.
Build and label the contact sheet
Choose one frame for each slot and arrange the six images in the planned order. Use short labels such as `01 neutral`, `02 open`, and `03 closed`. Add the avatar version and capture date once in the header, not on every tile. If a frame includes a known technical exception, label it instead of hiding it.
Write one observation under each tile. Keep it descriptive: “right hand overlaps the torso from this angle” is more useful than “bad pose.” Descriptive notes tell you what could change. A score does not. When you need a moving sequence rather than still comparisons, consult the motion-reference clip guide.
The sheet should remain a working document. It can include a rough frame when that frame reveals the next question. A polished result belongs in a different stage.
Separate technical behavior from pose choice
Review the six tiles once for creative choices and once for consistency. In the creative pass, compare silhouette, facing, level, and the intended contrast. In the consistency pass, look for a neutral that changed, an avatar version mismatch, a moved camera, or a hardware adjustment between slots.
Do not diagnose every uneven frame from the contact sheet. It cannot by itself prove drift, sensor performance, fit, or calibration quality. Record the symptom and reproduce it through the appropriate technical checklist. The contact sheet should not become a troubleshooting log.
When the six frames are meant to support a public body of work, the avatar portfolio guide provides the next production stage. It asks whether the selected material shows useful range, not merely whether six slots are filled.
Choose one next change
Finish the sheet by circling one difference to test next time. You might change the primary camera angle, make the open and closed shapes more distinct, simplify one hand position, or create a second sheet for transitions. Keep the avatar version and the other conditions stable when you want the new sheet to answer that one question.
If the contact sheet confirms that waist and leg expression matter to the work you want to make, compare that requirement with the current FBTKit product page. Recheck the live offer, compatibility route, included items, and terms before deciding. This practice page does not establish those changing facts or promise that equipment will improve a pose.
FAQ
What should go on a six pose contact sheet?
Use six frames that answer six different visual questions, such as neutral, open, closed, asymmetrical, lower-level, and settled finish. Add the avatar version, review angle, date, short labels, and one descriptive observation per frame.
Should I photograph an avatar pose from several angles at once?
Start with one fixed review angle so the six frames remain comparable. Make a second contact sheet for another angle when profile or three-quarter information matters. Changing angles within one sheet can make camera differences look like pose differences.
How long should I hold each avatar pose?
Hold only long enough to confirm that the intended shape has settled in the chosen review view and to capture a clear frame. Use a comfortable limit, release the pose, and return to neutral rather than treating a longer hold as a quality score.
What if one pose looks wrong because the avatar moves unexpectedly?
Label the frame and stop changing creative choices. Recheck the avatar version, body assignments, wear position, and calibration through the relevant technical workflow. Resume the sheet only after you have a stable baseline or record the exception clearly.
