
Jul
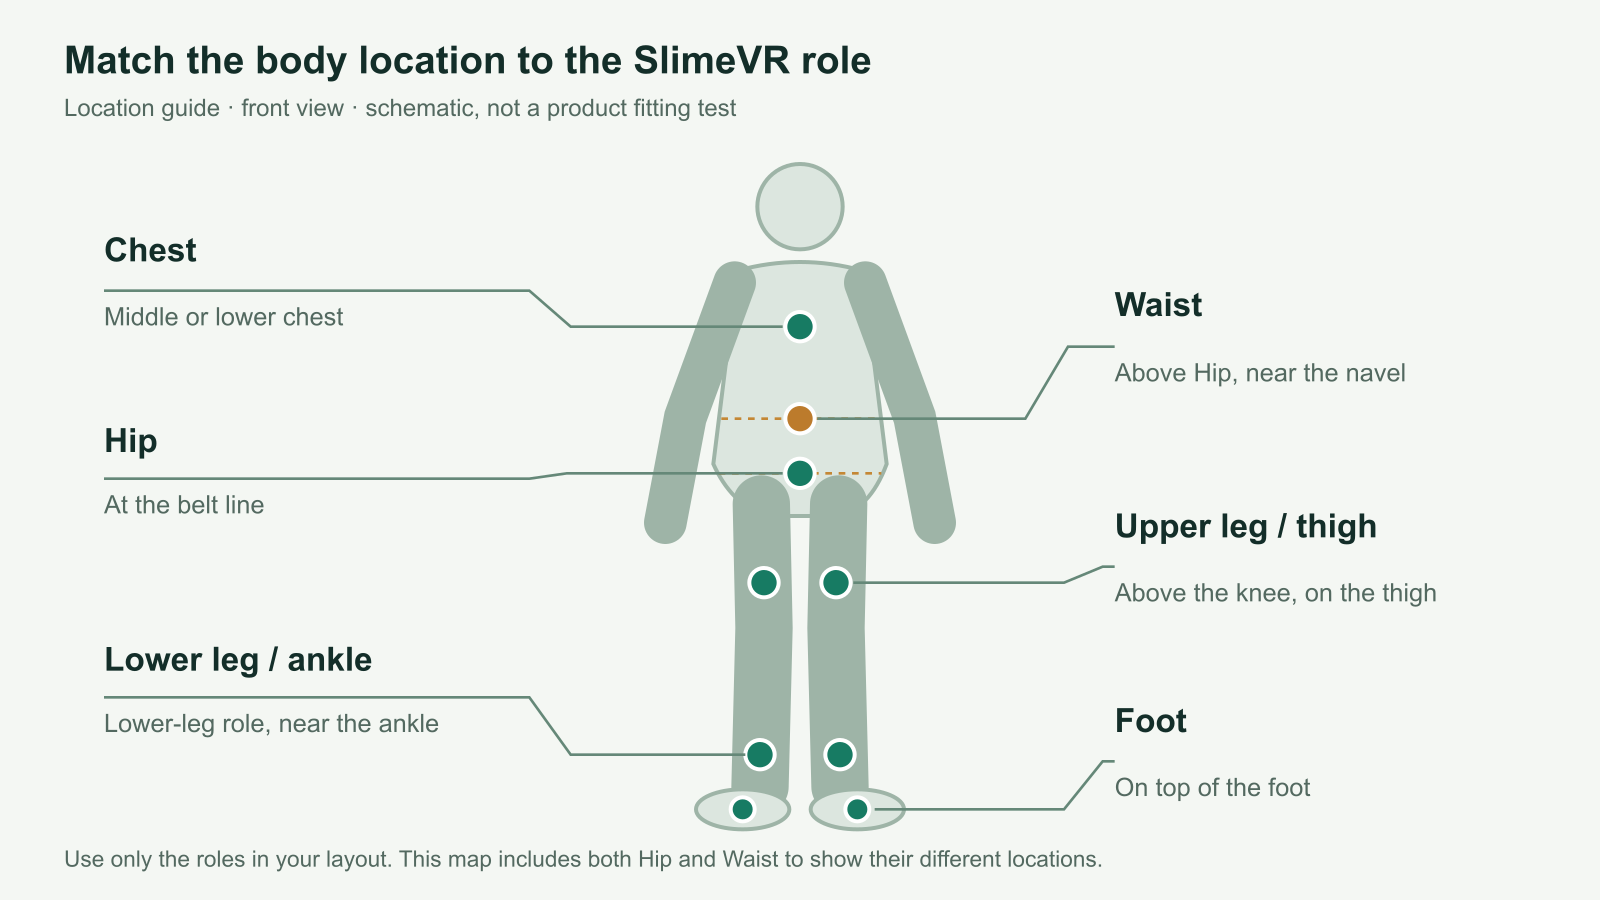
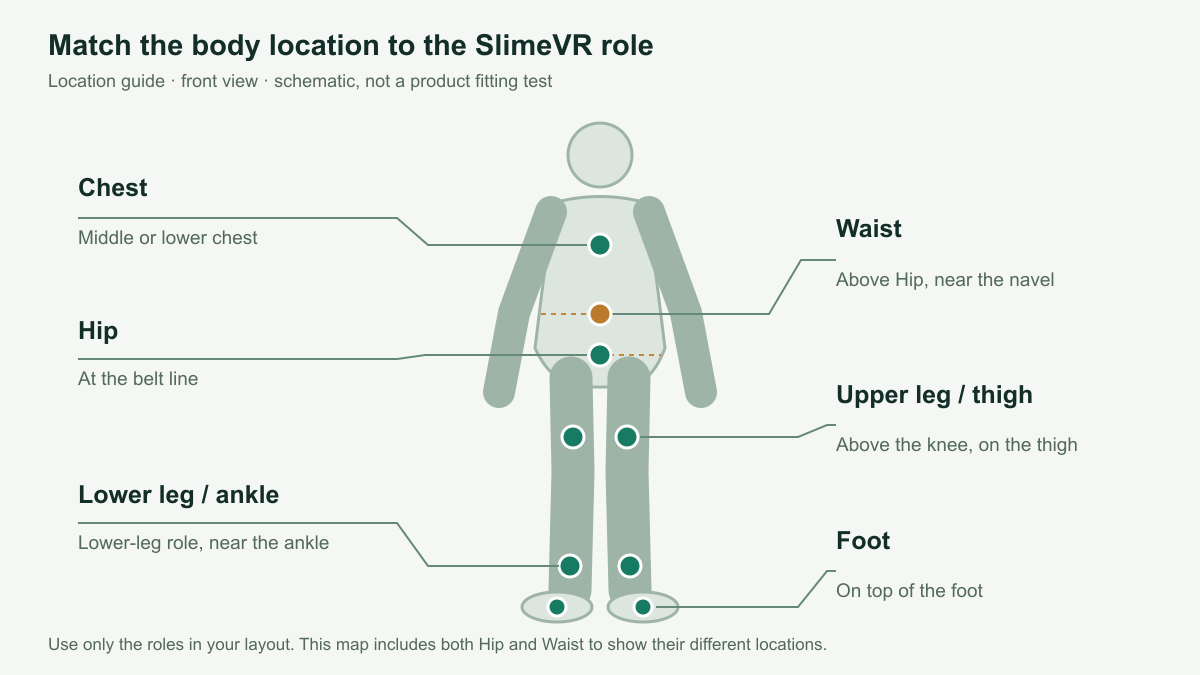
For SlimeVR, Waist sits above the hips near the belly button; Hip sits lower, around the belt line. A Foot tracker sits on top of the foot, while a Lower Leg tracker sits near the ankle. Assign each device to the body part where you actually wear it, then set its mounting orientation.
This guide covers SlimeVR-compatible trackers, including FBTKit. Use the locations required by your chosen layout: the diagram shows several possible roles, not a requirement to wear a tracker at every dot.
Where each tracker goes
| SlimeVR role | Physical location | What to check |
|---|---|---|
| Chest | Middle or lower chest | The tracker follows your torso without rocking on loose fabric. |
| Waist | Above the hip, around belly-button level | It moves with your waist when you bend. A device down at belt level may follow the pelvis instead. |
| Hip | At the belt line, on the pelvis | It remains on that body segment when you sit or bend. |
| Upper Leg / Thigh | On the thigh, above the knee | Select the correct left or right role. Keep the tracker on the thigh rather than across the knee joint. |
| Lower Leg / Ankle | Near the ankle | Keep its role distinct from a tracker mounted on top of the foot. |
| Foot | On top of the foot | Check the foot-specific orientation and make sure the mount does not slide when you lift your heel. |
| Upper Arm | Above the elbow, on the side or back of the upper arm | Assign the matching arm. Do not place it below the elbow while leaving an Upper Arm role selected. |
SlimeVR’s recommended five-tracker example uses Chest, both thighs and both ankles. Six adds Hip; eight adds both Feet; ten adds both Upper Arms. A separate Waist sensor belongs to other layouts, so a six-tracker set does not need both Hip and Waist. These counts describe body sensors; a wired extension can supply one of those sensors. See the tracker-count guide if you are still choosing a layout.
Match the saved role before adjusting the fit
In SlimeVR Server, open the tracker’s assignment and check the body location. If you cannot identify the device in the list, move or shake just that tracker and watch which entry highlights. Label left and right devices so you can put them back in the same places next time.
Changing a tracker’s physical location from Waist to Hip also changes which role it should have. Adjusting it around the same body segment for comfort is a different change. For example, moving a Hip tracker around the belt line does not make it a Waist tracker, but you still need to update its mounting orientation if its facing direction changes.
The virtual points shown by SteamVR or VRChat are software outputs, not a one-for-one picture of the sensors you wear. Seeing a virtual foot point does not mean your physical ankle tracker should be reassigned to Foot.
Set the direction the tracker actually faces
Body role answers where is it? Mounting orientation answers which way is it facing? In SlimeVR’s manual mounting screen, select the direction that matches the device as worn. Left and right are from your own perspective. Repeat this for each tracker rather than assuming every case faces forward.
Foot mounting needs particular care. SlimeVR’s location guide describes a Foot tracker with its “up” direction toward the ankle and its “front” facing the ceiling. Those are device axes, not a universal rule about which way a charging port points. Identify the axes for your tracker enclosure before copying another brand’s photo. If they are unclear on your FBTKit unit, ask support for its orientation reference.
After changing a mount, complete the applicable mounting/reset steps in SlimeVR. The first-time SlimeVR setup guide explains how this fits into the full process.
Check the strap while moving
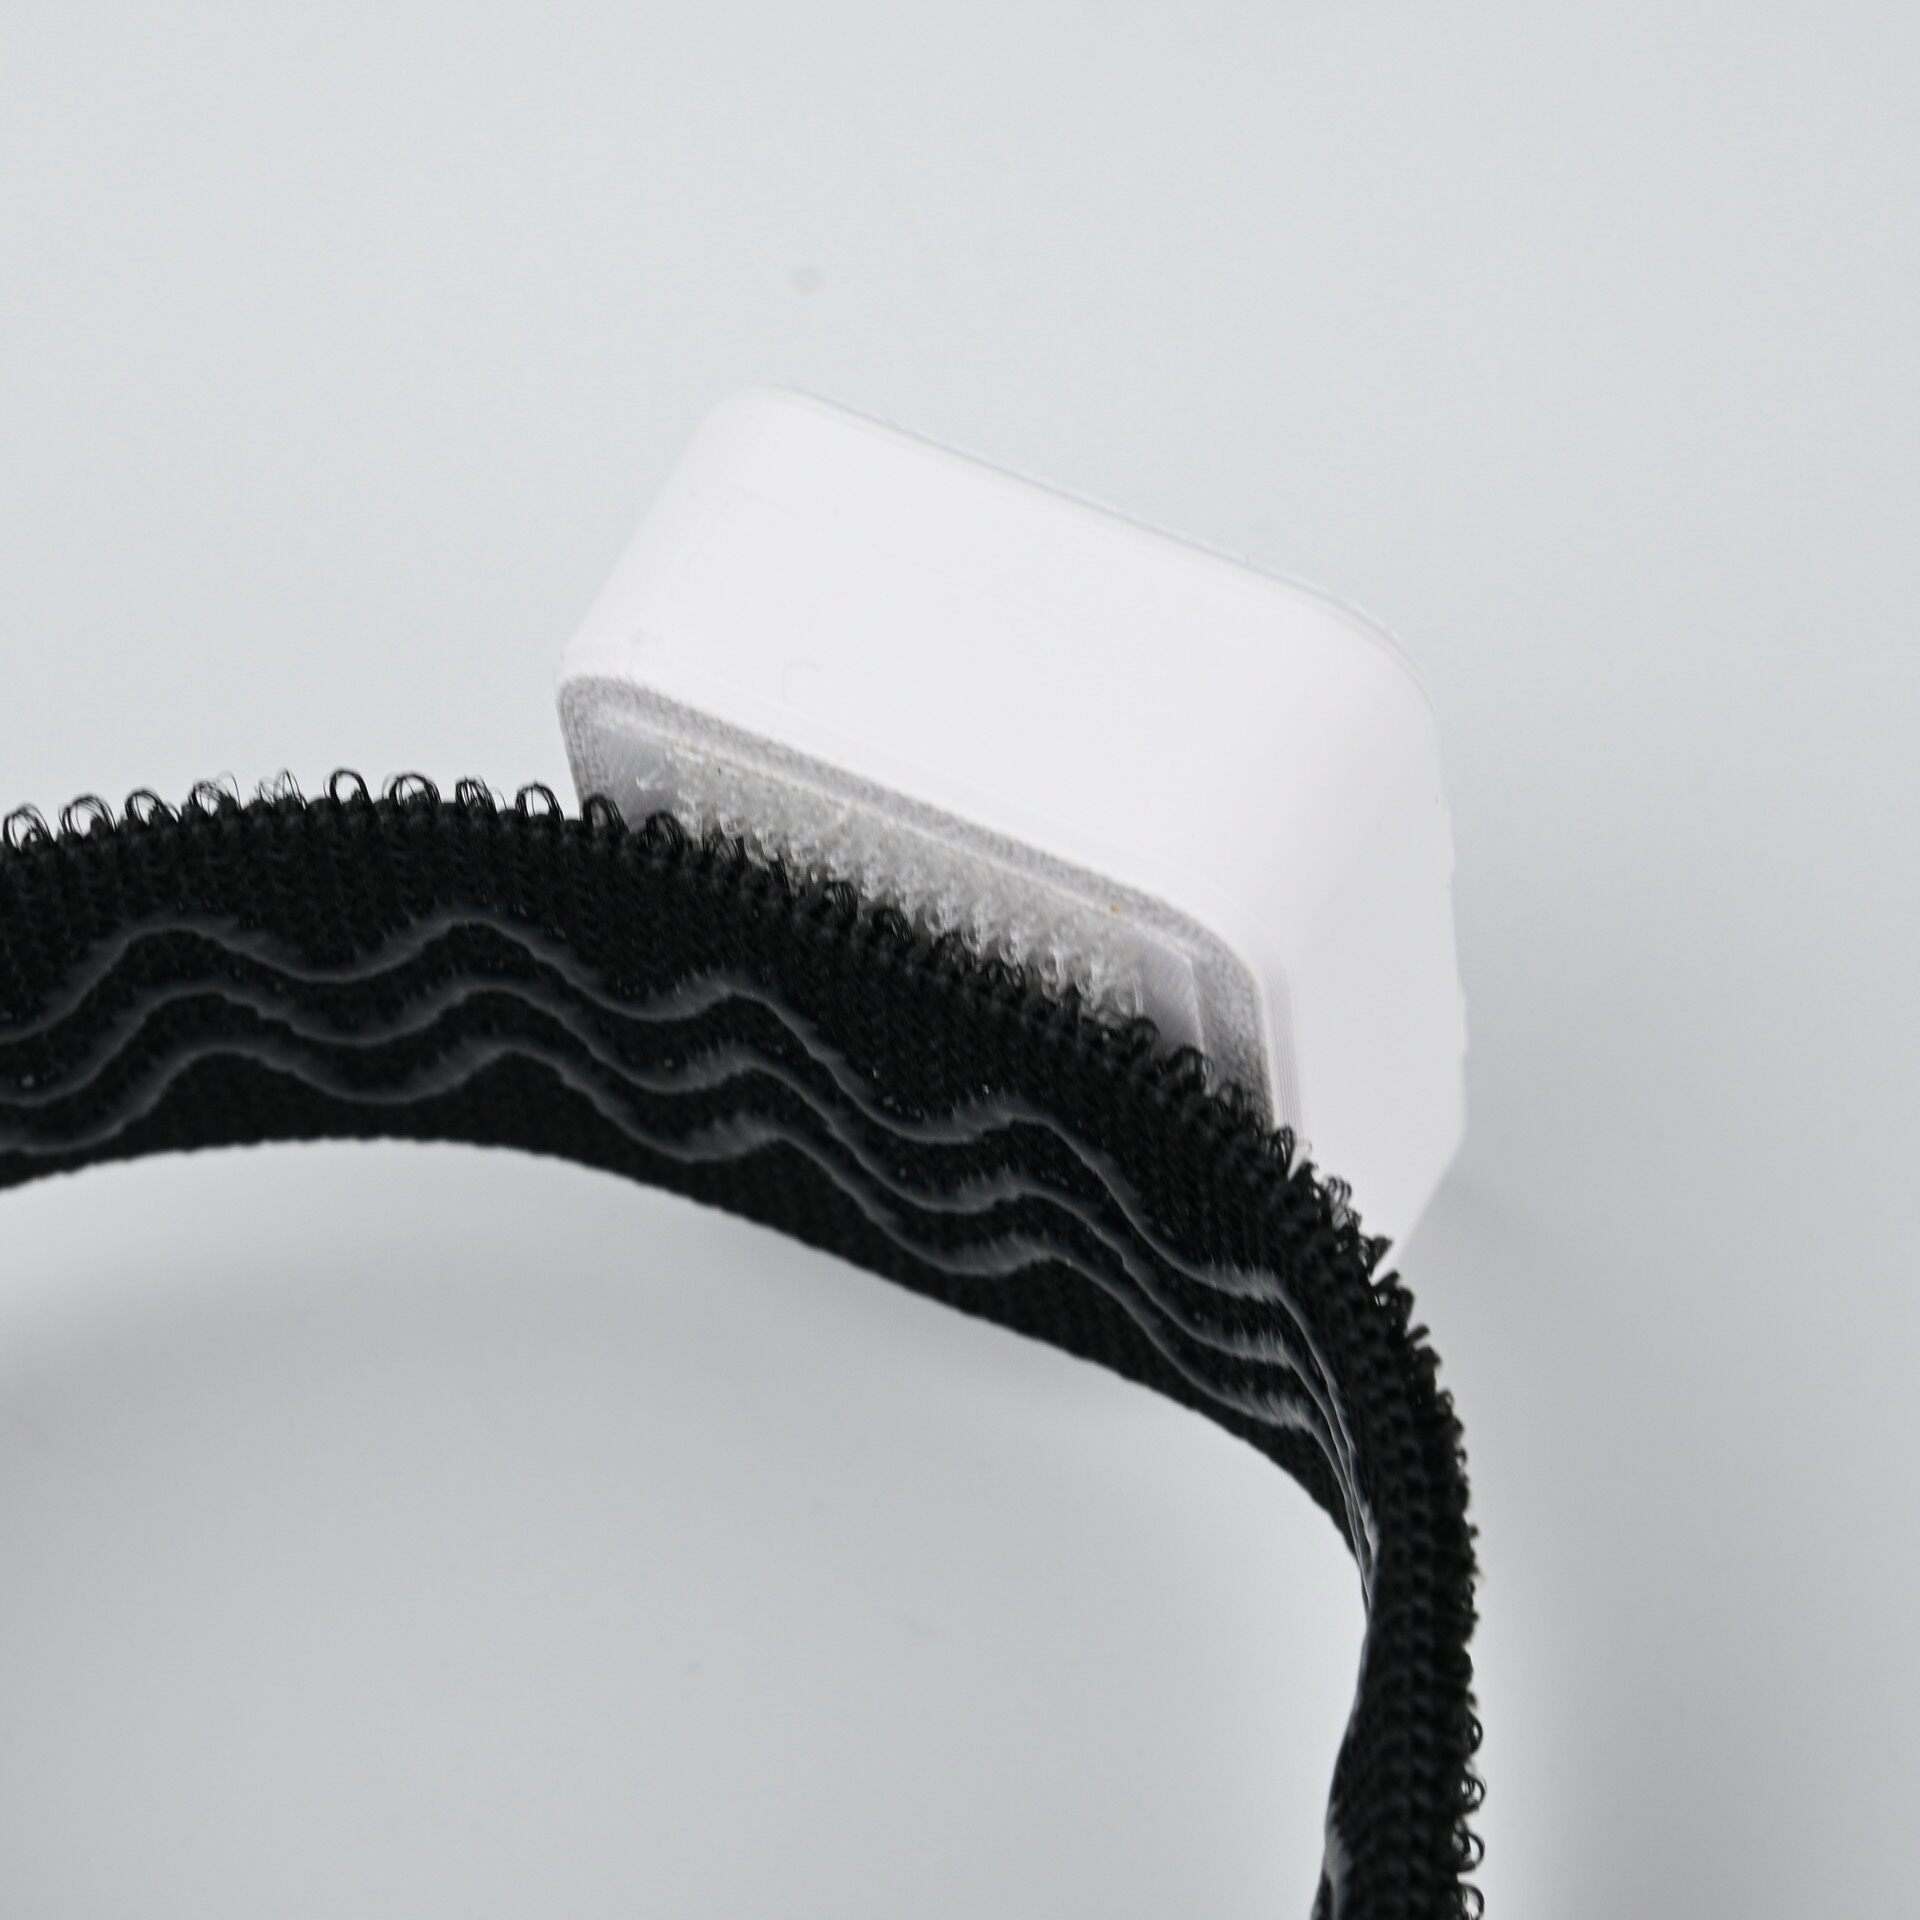
Put the strap on so the device stays in place without pinching. A bunched shirt, loose trouser cuff or folded strap can let the case rotate even when the strap feels tight. Smooth the contact area and adjust the mount before adding more tension.
Try a small turn, bend and step. If you will sit during the session, sit down and stand back up too. Look at the physical tracker afterward: did it slide, rotate or start pressing into you? Correct that mount before recalibrating. Stop and loosen or remove a strap if it causes pain or numbness.
Three mistakes to fix before another calibration
- The wrong side moves: check left/right assignments in SlimeVR while moving one tracker at a time.
- The tracker shifts when you sit: adjust its contact with the body, clothing or chair. Keep it on the assigned body segment and redo mounting/reset steps after moving it.
- The physical mount stays put, but the avatar is still wrong: compare the SlimeVR skeleton first. If it looks coherent and only one avatar behaves badly, check that avatar and VRChat calibration before changing every strap.
Once the roles, directions and fit are right, calibrate and check a few ordinary movements. You should be able to get back into the same comfortable arrangement without rebuilding the setup every session.
Sources checked September 29, 2026: SlimeVR placement, Quick Setup and physical versus virtual trackers. This is a documentation-based guide with a schematic and an existing product image; it does not report a FBTKit fitting or tracking test.
