
Blog
Full Body Tracking Cable and Charging Organization
Jul
Organize full body tracking charging around a device-to-cable map, not a pile of connectors that happen to fit. Give each rechargeable item a stable ID, record the cable and power source named in its current instructions, assign it a physical slot, and make its state visible. A connector shape does not tell you the voltage, current, temperature limits, or other rules for the device.
This approach is slower to set up once and faster to use afterward. You can see which trackers came back, which ones are charging, and which ones finished their device-specific routine. It also prevents a cable from becoming “the tracker cable” when nobody remembers which tracker or power source it was approved for.
Build a device-to-cable map before a charging station
Start with every item that needs power: wearable trackers, receivers, a headset, controllers, or any other accessory in the setup. Do not assume that all USB-shaped ports share charging requirements. The map should point back to the exact current manual or support page.
| Field | What to record | What not to guess |
|---|---|---|
| Device ID | A stable label such as T1, T2, or RX1. | Do not use body role as the only ID because roles can change. |
| Cable | The cable type or supplied cable named by the maker. | A connector that fits is not proof of approval. |
| Power source | The exact adapter or electrical requirement in the device guide. | Do not copy a value from another tracker. |
| Status signal | The indicator behavior described for that exact model. | Do not assume the same light color means the same state elsewhere. |
| Home slot | One numbered position for the device and its cable. | Do not rely on memory to identify loose cables. |
Keep the map beside the charging area. A photo of the approved adapter label or a saved manual URL is more useful than a handwritten guess. If the guide changes or a device is replaced, update that row before putting the new item into the routine.
Use one-way charging states
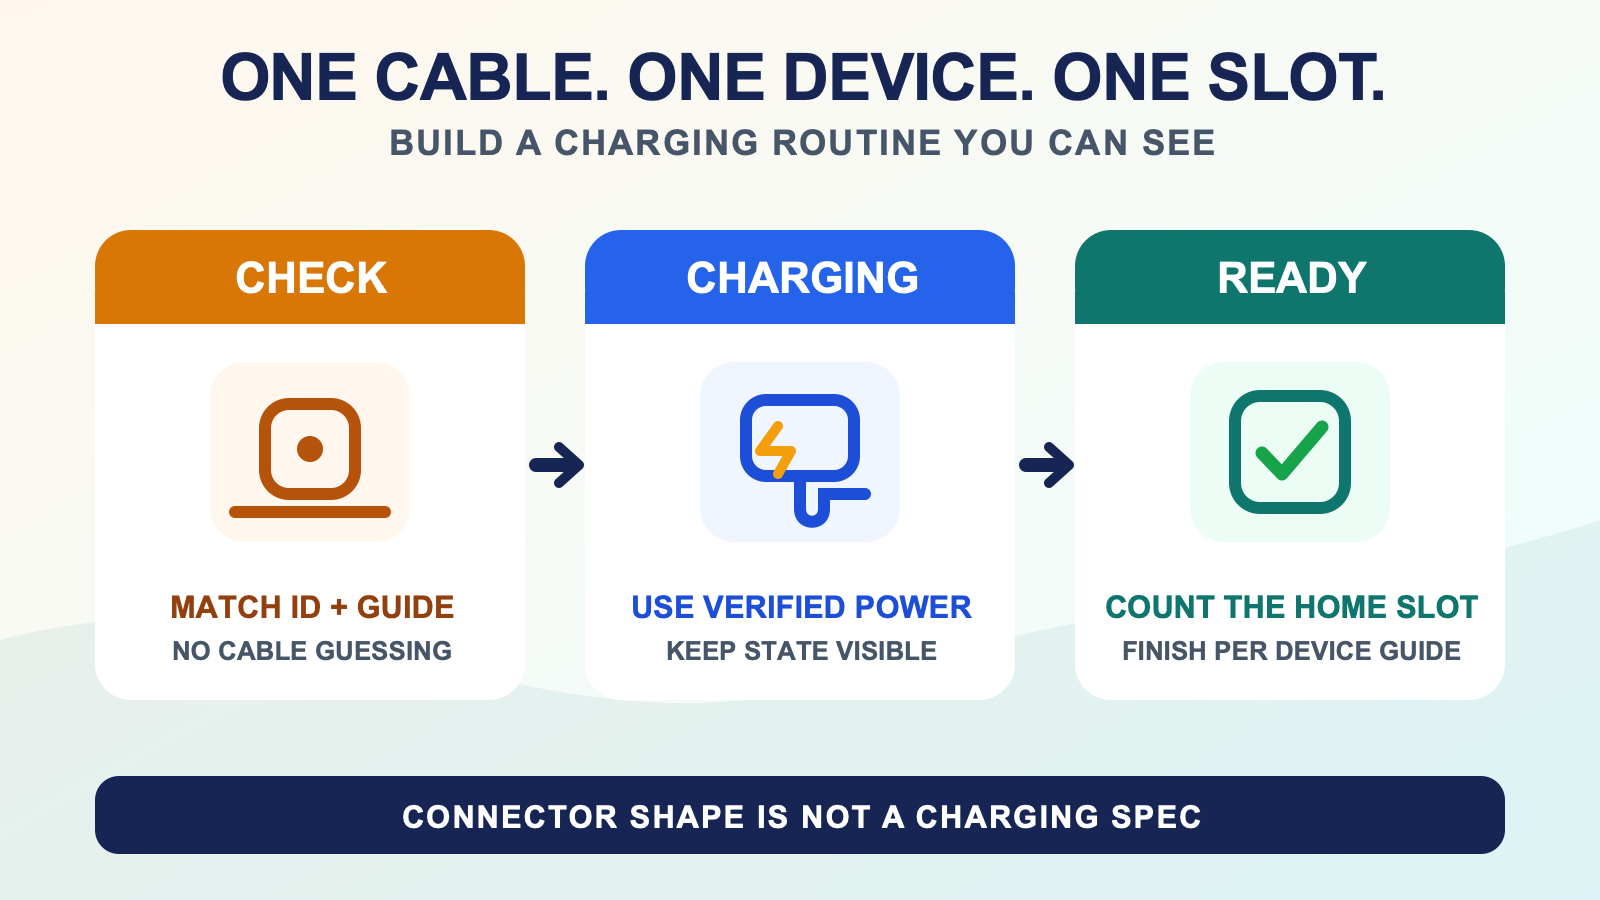
Create a physical path with three visible states: CHECK, CHARGING, and READY. A returned tracker enters CHECK. It moves to CHARGING only after you match its ID to the mapped cable and power source. It moves to READY only when the exact device instructions say charging is complete and the device is in the expected after-charge condition.
The labels matter more than the furniture. Three trays, a small board with numbered hooks, or a row of open slots can work. Avoid a single bin where charging devices, finished devices, straps, and loose cables look identical. A cable should reach its assigned slot without pulling on the connector or crossing the device count labels.
The between-session storage guide covers the longer-term home for gear after it reaches READY. This article stays with the cable map and charging queue.
Read each device guide as its own rule set
The official SlimeVR safety guide gives a useful example of device-specific instructions. For Official SlimeVR Trackers, it says not to leave the product unattended while charging, to use an external power supply rated for 5V DC, to charge within 10 C to 40 C, and to switch the product off while charging. It also gives storage and moisture rules.
Those instructions apply to Official SlimeVR Trackers. They do not establish the charging specification for every SlimeVR-compatible device, including FBTKit hardware. The current FBTKit product page does not publish an approved cable, adapter, voltage, current, charging temperature, time, or indicator definition. Keep those fields labeled VERIFY IN CURRENT GUIDE until the exact device instructions are available.
That is why the map exists. Even when two devices share a connector, their approved power source or indicator behavior may differ. Do not solve missing documentation by copying the nearest product’s numbers.
Count devices at the change of state
Count when items enter CHECK, again when they enter CHARGING, and once more when they reach READY. The goal is not to build a complicated spreadsheet. It is to stop one tracker from remaining on a desk, in a strap, or connected after the rest have moved.
Use the same stable device ID in the charging area and in software. Put the temporary body role on a separate removable marker if you switch placements. That way T2 remains T2 even when it moves from a waist role to another supported role.
Before a session, use the charging and pre-session checklist. It handles the last readiness check rather than making the charging station responsible for every setup task.
Keep straps and travel cables out of the active queue
Straps do not need to occupy a powered slot. Give them a nearby dry return area and route cleaning questions to the strap cleaning guide. A tracker that may have been exposed to moisture or unexpected heat should not move automatically into charging. Stop and use the maker’s current instructions or support path.
Travel cables also need explicit identification. A cable moved into a travel pouch should be marked absent from the home station, then returned to its numbered slot after the trip. The FBT travel checklist covers packing and return counts.
Separate a charging exception from a tracking exception
If a device does not show the state described in its guide, move it to a separate CHECK MANUAL area. Do not keep reconnecting it through random cables or adapters. Record the device ID, mapped cable, mapped power source, and observed indicator, then follow the maker’s support steps.
A tracker that appears charged but is not detected needs a different check. Use the trackers-not-detected checklist instead of treating every connection problem as a charging problem.
Set up the station from verified package facts
Before assigning slots, compare the actual delivery with the kit contents checklist. A product photo may show a cable that is not listed as included, and an included cable does not identify every approved power source. Record only what the package list and device guide confirm.
No first-hand charging log, timed test, or FBTKit-specific charging manual was supplied for this article. The workflow avoids electrical numbers for that hardware and keeps unverified fields visible.
Map the exact kit before adding charging hardware
The FBTKit LSM6DSV SlimeVR-Compatible Full Body Tracking Kit page is the current source for available kit facts. Do not buy an adapter, hub, or replacement cable from this article. Confirm the exact device charging instructions first, then give every verified component its own row and slot.
FAQ
Can I use any USB cable that fits my VR tracker?
No. A connector that fits does not confirm the approved cable, power source, or charging conditions. Match the exact device model to its current maker instructions before assigning a cable.
Should I charge every full body tracker at the same time?
Only if the instructions for every device and the charging hardware confirm that setup. When support is unclear, use a visible queue and charge devices only through their verified cable and power-source path.
How should I label several identical trackers?
Give each tracker a stable device ID and a numbered home slot. Keep body role on a separate removable label so the tracker can change roles without losing its cable, charging, and software identity.
What should READY mean at a charging station?
READY should mean that the exact device completed the state described in its current instructions, left the charging path in the required condition, and returned to its counted home slot.
Can I use the Official SlimeVR 5V rule for an FBTKit tracker?
No. The cited SlimeVR safety guide applies that rule to Official SlimeVR Trackers. SlimeVR compatibility does not prove that another device shares its electrical specification. Use the exact FBTKit device instructions.
