Blog
Full Body Tracking for First Time VR Creators
Jul
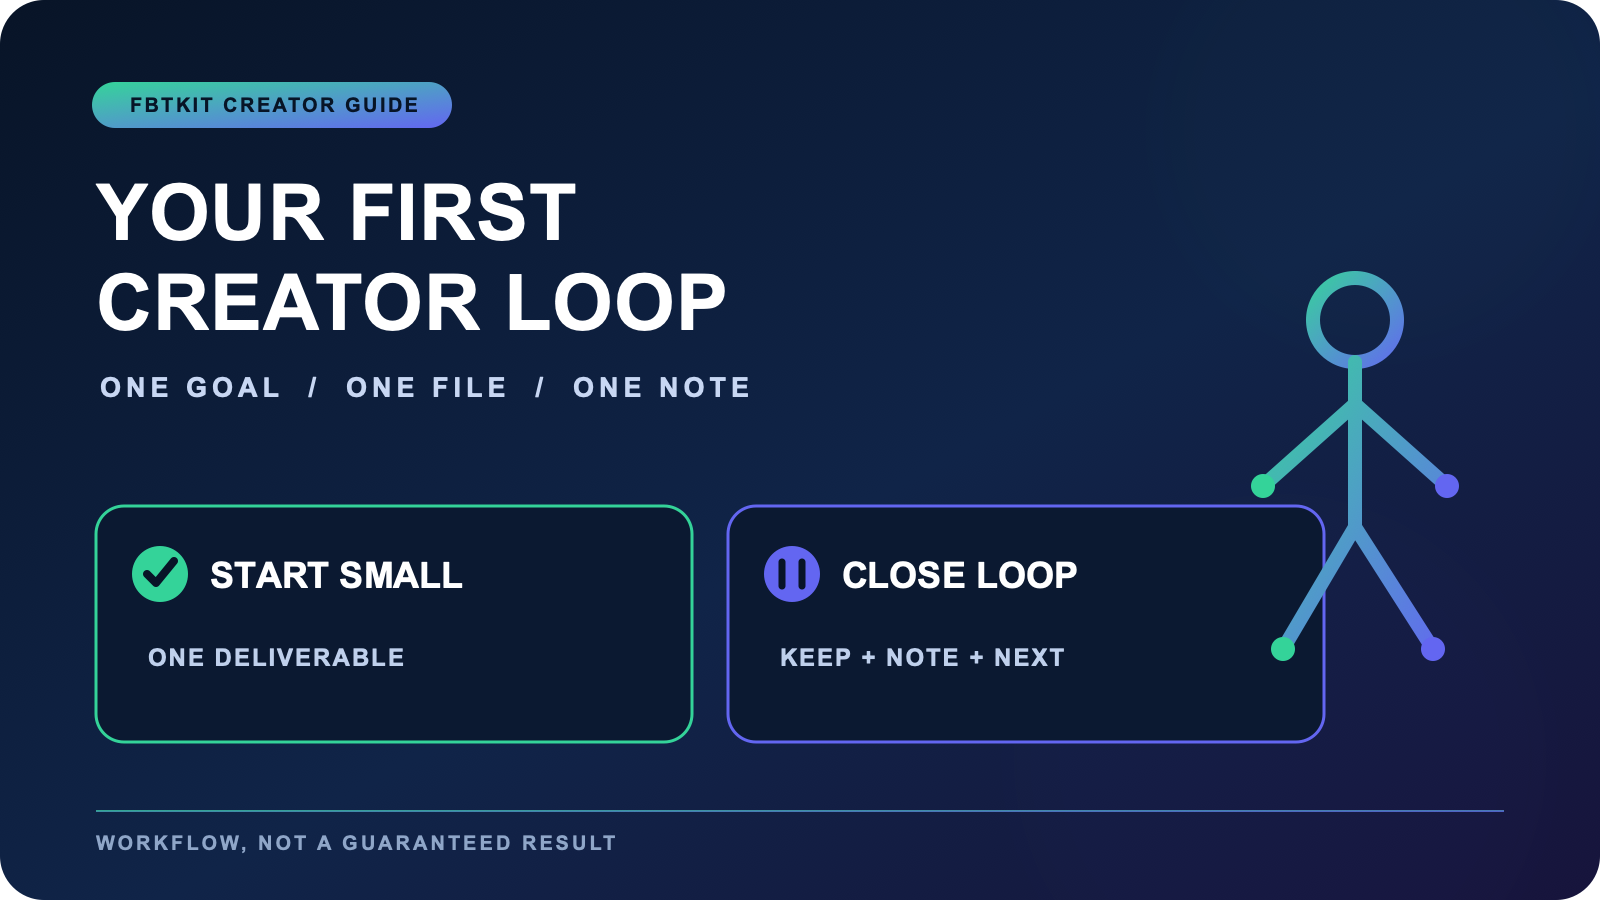
Full body tracking for first time VR creators should begin with one small finished deliverable, not a complete creator studio. Choose a 10-second movement clip, one full-body avatar photo, or a short private scene test. Confirm the room and compatibility, follow a repeatable setup, record a limited number of attempts, and finish by naming what you learned. The first win is a closed loop, not a promise of professional results.
This beginner workflow helps you avoid buying or configuring around an imaginary future production. It deliberately hands specialized work to other guides. Your job here is to move from idea to one reviewable file while keeping unknowns visible.
Pick the smallest complete deliverable
Write one outcome that can be completed in a single session. “””Make VR content””” is too broad. “””Record a 10-second full-body wave and turn””” is usable. So is “””capture three full-body pose options for a profile image.””” A precise deliverable tells you what the camera must show and when the session can end.
If you do not yet know what full body tracking changes compared with head-and-hand input, read the full body tracking introduction. If you are planning an entire social VR content setup, use the creator setup guide after you have completed this first loop.
Confirm the route before buying
List the headset, computer or standalone route, tracking software, intended app, available room, and charging routine. Check each one against current documentation rather than assuming that “””VR compatible””” means every combination behaves the same. The compatibility checklist provides the detailed checks.
Review current written package information on the FBTKit product page. Treat the page as a current product record that must be rechecked, not as proof that your complete creator chain has been tested. Tracking gear does not choose an avatar, recording application, camera, or publishing platform for you.
Use one setup card
Create a short card containing charging check, tracker placement, room clearance, software connection, calibration, and a private movement test. Keep the order the same for the first several sessions. A stable order helps you recognize which step changed when the avatar looks different.
Follow the established setup and calibration workflow instead of inventing a creator-specific calibration ritual. If equipment readiness is difficult to remember, use the charging and pre-session checklist. Creative ambition should not hide a missing practical step.
Record a diagnostic before the deliverable
Make a private test with neutral stance, controlled turn, side step, and the largest movement in the planned output. Check whether the avatar remains inside the frame and whether feet and waist behave consistently. If the avatar is new, use the new avatar test guide.
Do not begin the final take while you are still changing the room, avatar, camera, and calibration. Pick one problem category, make one change, and repeat the same diagnostic. The purpose is to create a known starting point, not to prove that every later movement will be flawless.
Limit the first attempt count
Decide the maximum number of takes or photos before you begin. Three short clip takes or five planned poses can be enough for a first workflow test. Review one early file before using all your time. If the frame is wrong, repeating it ten more times will not solve the composition.
Stop if physical comfort, room awareness, or attention declines. A completed imperfect test with a clear note is more useful than a long session that produces unlabeled files and no decision. No evidence in this article supports a universal number of attempts, so adjust the limit conservatively.
Choose one specialist path next
After the first loop, choose the output you actually enjoyed finishing. Still images belong to the avatar photography workflow. Neutral study files belong to motion reference. Character acting, streaming, and polished clips each have different requirements. Do not combine all of them simply because the same tracking setup can appear in each.
Write down the selected file, one issue you observed, and one next specialist route. This keeps the next session connected to evidence you actually saw rather than a generic creator checklist.
Use a beginner review that closes the loop
| Question | Useful answer |
|---|---|
| Did I finish the defined item? | Yes, no, or test only |
| What was visibly unclear? | One timestamp or pose |
| Which setup step changed? | One named variable |
| What happens next? | Keep, retry, or choose a specialist guide |
Do not measure the first session by follower growth or compare it with a polished creator reel. The useful evidence is whether you can repeat the setup, identify a file, and name a concrete improvement. There is no first-hand customer outcome attached to this article, so its value is the decision structure itself.
Keep a small “””not yet””” list beside the review. Put advanced overlays, alternate cameras, longer choreography, public streaming, and complex edits there if they were not required for the first deliverable. This preserves the ideas without allowing them to interrupt the current loop. Revisit the list only after you can repeat the basic session from preparation through file selection. At that point, add one new layer and record what changed. Beginner progress is easier to evaluate when the workflow grows one dependency at a time.
FAQ
What should a first-time VR creator make with full body tracking?
Choose one small item that can be finished in a session, such as a 10-second movement clip, three planned full-body poses, or a private scene test with a clear start and end.
How many goals should a beginner creator combine in one session?
Start with one primary deliverable and one setup question. Streaming, photography, motion study, acting, and editing have different standards, so combining them too early makes review unclear.
What should be on a beginner full body tracking setup card?
Include charging, placement, room clearance, software connection, calibration, and a short private movement test. Keep the order stable so changes are easier to identify.
How do I know the first creator session was useful?
You should be able to identify the finished or test file, name one visible issue, record one setup variable, and choose a specific next step. Audience growth is not required to close the first loop.
