
Blog
How to Clean Full Body Tracking Straps
Jul
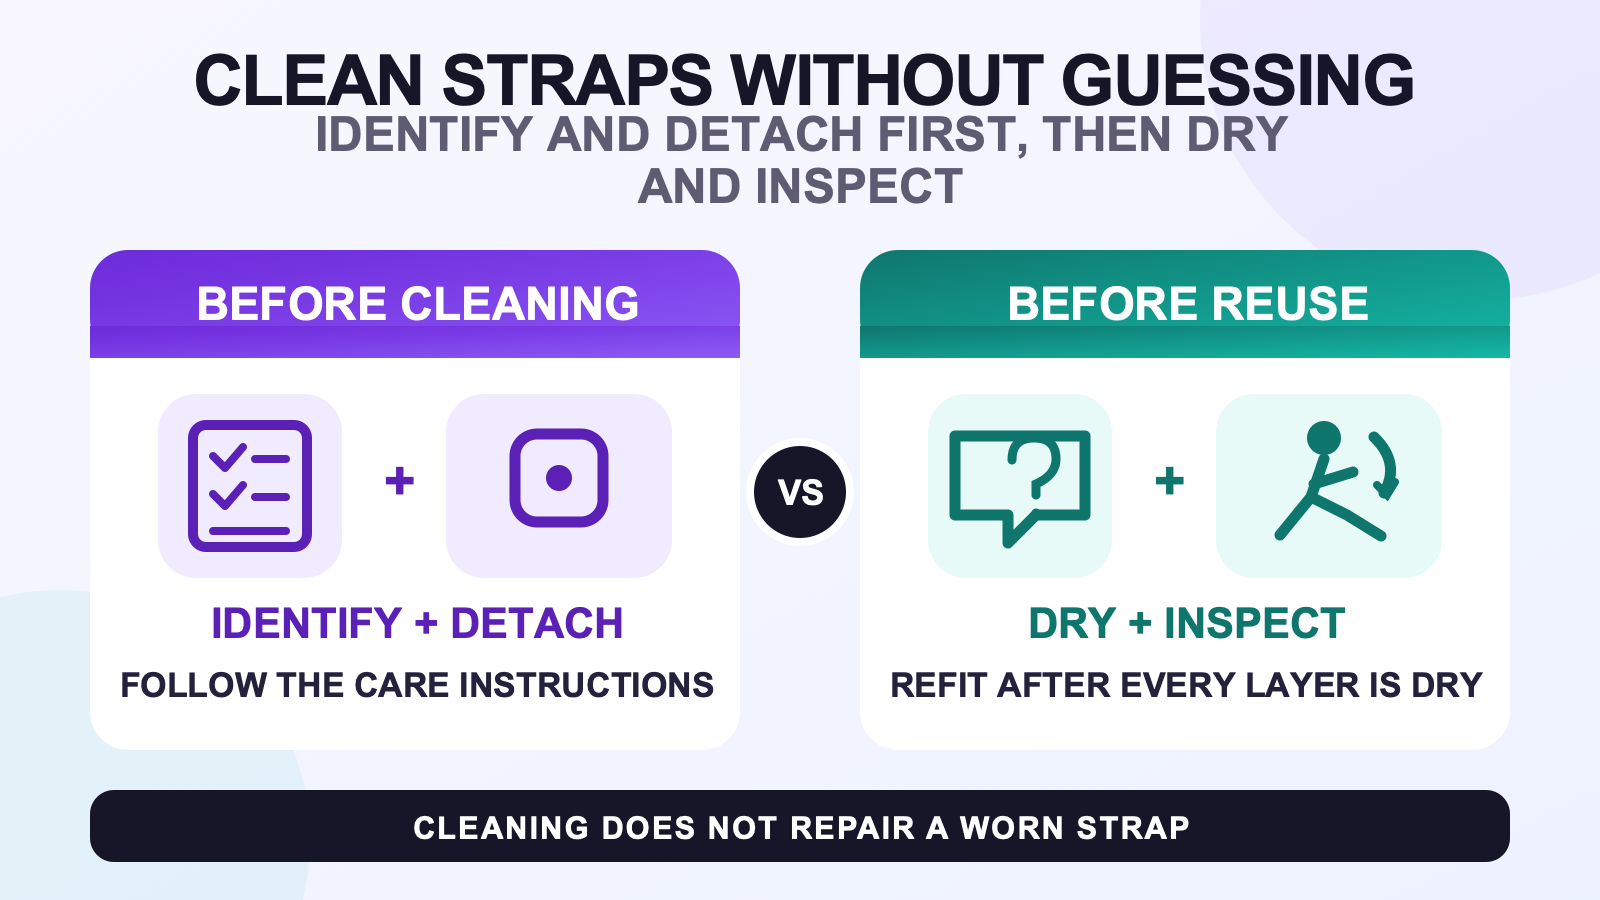
Clean full body tracking straps in this order: identify the exact strap and its care instructions, remove the electronics, start with the least aggressive suitable method, dry every layer completely, then inspect and refit. Do not assume that every strap can be soaked, machine washed, disinfected, or exposed to heat. Materials, closures, stitching, coatings, and tracker attachments can differ.
A good cleaning routine solves a specific problem without creating a new one. Dust may need a dry brush. A small mark may need a careful spot clean. A washable fabric may have a label that permits laundering. Stretched elastic or a weak closure is a wear problem, not a reason to use stronger cleaner.
Use a five-step label-first cleaning sequence
| Step | Question | Safe decision boundary |
|---|---|---|
| 1. Identify | Which strap is this, and what do its label or maker instructions allow? | Do not infer the material or wash method from appearance alone. |
| 2. Detach | Can the tracker and other electronic parts be removed? | Keep electronics outside the cleaning area unless their own instructions explicitly permit a method. |
| 3. Choose | Is the problem loose dust, a small mark, body-contact residue, or something else? | Use the least aggressive method that the actual instructions support. |
| 4. Dry | Are seams, folds, closures, and inner layers dry? | Do not judge dryness only by the outer surface. |
| 5. Inspect | Did cleaning reveal wear, distortion, loose stitching, or a weak closure? | Resolve a wear problem before putting the strap back into service. |
This sequence also helps when several straps look similar. Work on one strap at a time or keep a simple label beside each one. If you need to confirm which pieces belong to the current kit, use the current FBTKit product record as an identification starting point, then ask for the exact care instruction when it is not listed.
Identify the strap before adding water or cleaner
Check for a sewn label, packaging note, care card, order record, or maker support page. Record the strap’s role and any visible material or care wording. A black elastic-looking band is not enough evidence to choose a wash cycle. Two straps can look alike while using different elastic, backing, adhesive, stitching, or closure construction.
If you cannot find a material-specific instruction, keep the method conservative. Remove loose debris without liquid first. Use only a small amount of a surface-appropriate cleaner when you have a reason to believe it is compatible. Do not escalate to soaking, machine washing, bleach, alcohol, a chemical disinfectant, or heat because the first pass did not remove a mark.
The CDC’s household-cleaning guidance says to use products suitable for the surface and follow product and manufacturer instructions. That principle is useful here, but the CDC page is not a care manual for a particular tracking strap.
Remove trackers and organize the dry parts
Detach the tracker, cable, clip, or other electronic component when the design allows it. Put dry electronics in a separate tray or case away from the sink, spray bottle, wet cloth, and damp straps. Do not spray cleaner toward an attached device or let liquid collect around a charging port, switch, seam, or connector unless the device maker explicitly allows that procedure.
Before detaching anything, take a quick photo of the attachment route if you may forget it. The photo is a reassembly note, not proof that the previous fit was correct. For fit and wearing depth, return to the tracker strap fit guide after the strap is completely dry.
Match the method to the actual cleaning problem
| Observed problem | First reasonable action | Stop and verify before |
|---|---|---|
| Loose dust, lint, or hair | Remove it gently with a dry hand, soft brush, or other method suitable for the surface. | Pulling at threads or scraping a closure with a sharp tool. |
| Small surface mark | Spot test the least aggressive material-compatible method in an inconspicuous area. | Wetting the whole strap or using a stronger chemical. |
| Body-contact residue | Follow the strap’s supported cleaning or laundering instructions. | Choosing a wash cycle, water temperature, soak time, or dryer setting. |
| Shared-use concern | Clean visible soil first and identify whether a separate compatible disinfection step is actually needed. | Applying a disinfectant to an unknown material or mixing products. |
| Persistent odor with wear | Dry fully and inspect the entire strap. | Masking the odor with fragrance or treating damage as a cleaning problem. |
Cleaning is not a test of how much chemistry a strap can tolerate. If the label permits hand washing or machine washing, follow the stated method rather than rewriting it from a general blog. If the instructions do not permit that method, do not assume that a low temperature or delicate cycle makes it safe.
Keep routine cleaning separate from disinfecting
Routine cleaning removes dirt and residue. Disinfecting uses a chemical product for a different purpose and adds compatibility, label, contact-time, ventilation, and handling questions. The CDC notes that daily sanitizing may not be necessary when surfaces and objects are cleaned carefully after use. It also warns not to mix products or chemicals.
For shared straps, first identify the actual material and maker guidance. If a compatible disinfectant is genuinely required, read the complete disinfectant label and the strap instructions before use. A wipe being safe for a hard desk or phone case does not show that it is safe for elastic, dyed fabric, adhesive, hook-and-loop, or skin-contact wearables.
Do not describe a cleaned strap as sterile, antimicrobial, infection-proof, or safe for every user. Those are separate claims that this care routine does not establish.
Protect closures, elastic, stitching, and attachment zones
Inspect the areas that do the mechanical work. Remove lint from hook-and-loop surfaces gently. Avoid pulling loose fibers with a sharp object. Do not stretch elastic just to make cleaning easier. Check stitching at the tracker mount, folded edges, and any point that sits under repeated tension.
If a closure no longer holds during normal movement, a seam is opening, elastic does not recover, or a mounting area is distorted, cleaning is not the repair. Use the strap replacement checklist to separate cosmetic marks from a functional wear problem.
Dry the complete strap, not just its surface
Drying time depends on material, thickness, folds, room conditions, and the method used, so this guide does not give a universal timer. Follow the care instruction. Give seams, layered sections, closures, and folded elastic enough airflow and time to dry completely. Do not use a radiator, hair dryer, tumble dryer, or direct high heat unless the strap instructions specifically allow it.
A strap can feel dry on the outside while a seam or folded layer still holds moisture. Check more than one point with clean, dry hands. Keep the tracker detached and the storage container open until the full strap is dry. Then move it into the between-session storage routine.
Inspect, refit, and run a short movement check
Once the strap is dry, check for color transfer, stiffness, curling, loose stitching, stretched sections, residue, and closure strength. Reattach the tracker in the documented orientation. Fit the strap without over-tightening and make sure the electronic housing is not pressed against damp material.
Use a short, low-risk check before a long or active session: stand, bend the nearby joint, take a few steps, and sit if that body point is affected. Stop if the strap slips, twists, pinches, or opens. The long-session comfort guide covers the session-level fit decision; this page stays focused on cleaning and inspection.
Keep chargers and damp cleaning items apart. The cable and charging organization guide covers charging-area setup without turning a strap-cleaning surface into a charging station.
Keep cleaning, storage, replacement, and travel as separate decisions
A clean strap may still be worn out. A sound strap may still be damp. A dry strap may still be packed badly. Close each decision in order: clean it, dry it, inspect it, replace it if needed, then store or pack it.
For a trip, finish cleaning early enough that the inner layers can dry naturally. Do not put a partly dry strap beside electronics to save space. The FBT travel checklist handles inventory, battery rules, and packing zones.
Stop and check before continuing
- The strap material or care instruction is unknown.
- An electronic part cannot be detached and its cleaning limits are unclear.
- A label does not explicitly allow the planned soak, machine cycle, disinfectant, or heat.
- The strap has a swollen component, damaged cable, loose seam, stretched elastic, or failing closure.
- A cleaner causes color transfer, stiffness, residue, or irritation.
- Any inner layer remains damp before reassembly or storage.
Identify the exact strap before changing the method
Keep the strap label, order record, and a clear photo together. Ask for material-specific guidance when the supported wash method is not clear, especially before soaking, machine washing, disinfecting, or applying heat.
FAQ
Can I machine-wash full body tracking straps?
Only when the exact strap’s care label or maker instructions allow it and all removable electronics have been detached. Do not infer machine-wash safety from the strap’s appearance or from instructions for a different strap.
What cleaner should I use on FBT straps?
Use a cleaner and method that the actual strap material and care instructions support. There is no universal cleaner for every elastic, fabric, closure, adhesive, or coating, and cleaning products should not be mixed.
Can I use disinfectant wipes on tracker straps?
Do not assume so. First clean visible soil, then use a disinfectant only when the strap instructions and the disinfectant label both support that surface and method. Keep it away from electronics unless their maker explicitly permits it.
How long should tracking straps dry before reuse?
There is no universal time. Follow the care instruction and wait until the surface, seams, folds, closures, and inner layers are completely dry before reattaching electronics or closing the strap in storage.
How should I remove lint from hook-and-loop strap closures?
Detach the electronics and remove loose lint gently without a sharp tool or pulling at the strap’s threads. If the closure still will not hold after loose debris is removed, treat that as a wear problem rather than cleaning more aggressively.
Official cleaning reference
The CDC guidance and public FBTKit page were checked on August 11, 2026. The CDC page supplies general surface and soft-item cleaning principles, not product-specific FBT strap instructions. This article does not claim a controlled wash test, a universal material, a fixed drying time, or a disinfectant outcome.
